CONVERTING IMAGES FOR PK2 BACKGROUNDS IN GIMP
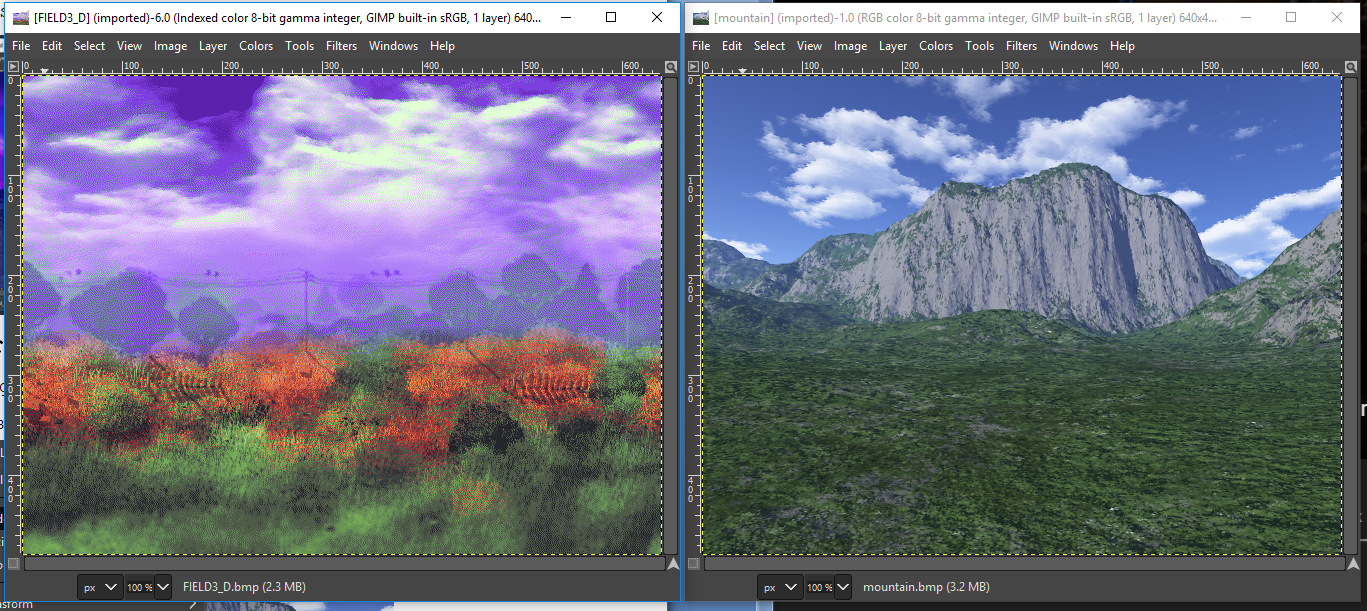
Grab your pictures
Open it in GIMP and resize or crop the photo to 640x480
Open and already made background as you’ll need the palette of the image. PK2 uses the background’s palette for the other graphics of the level.
I’ll be using the picture on the right as an example.
Convert the image
Go to Image, Mode, and then click Indexed
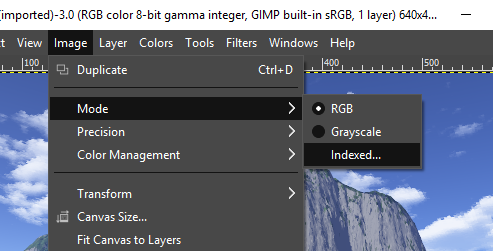
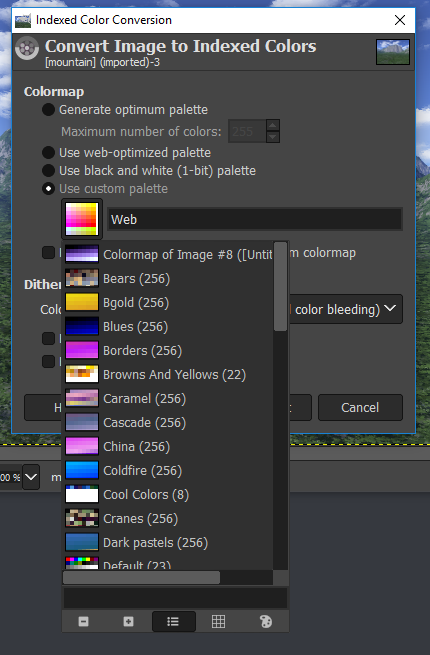
In the window that opens click “Use custom palette”, click the palette preview image and the scroll to the top and choose the first option, the palette of the already made background.
Next uncheck "Remove unused and duplicate colors from colormap"
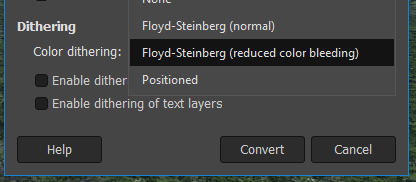
If you like you can pick one of the dithering options, then click convert.
Exporting the background
Finally when exporting the image check "Do not write color space information" under Compatibility options.
Now you have your background.
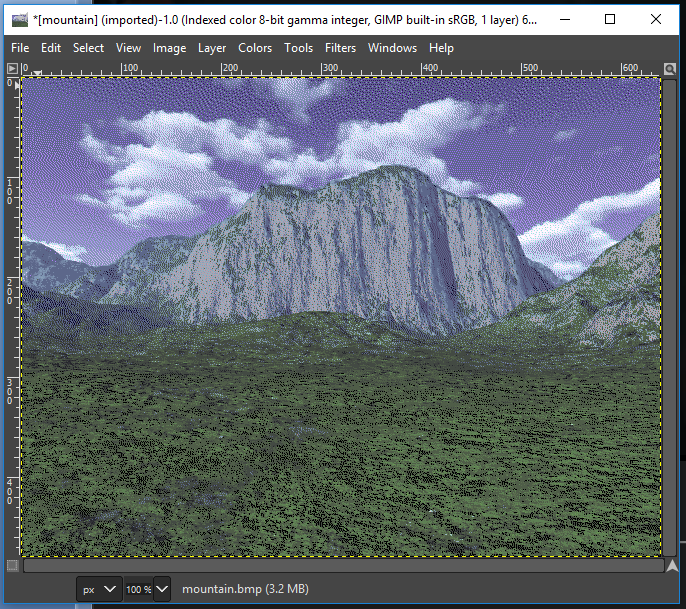
Uh Oh...
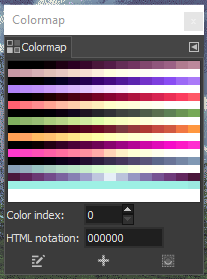
If you find your background has flashing sections that means when GIMP converted the image it thought that using the colors from the second bottom row of the palette was a good idea. The problem is that this row of the palette is used for shifting colors. The example image has this problem.
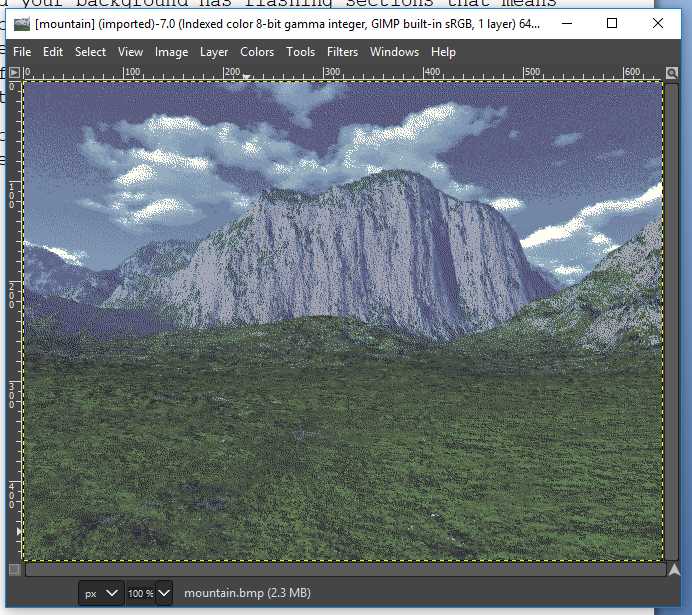
In order to fix this you’ll have to switch all of the sections using these colors to use other colors from the palette.
Using the "Select by Color Tool" you'll be able to select all pixels using the selected color. Unfortunately selecting colors can't be done through the Colormap window so you will have to remember where the flashing colors are being used.
Depending on your version of GIMP the icon for the "Select by Color Tool" will apear as one of these two icons.


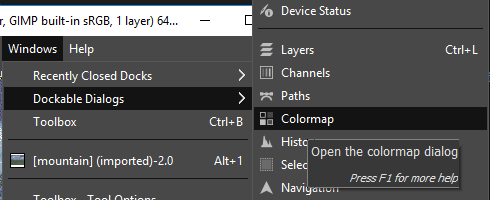
Opening the Colormap window will allow you to pick colors from the palette.